Khandro Déchen (author, thangka painter and principle Lama of the Aro gTér tradition) explains what a thangka is and how it it is created. Khandro Déchen is the lineage thangka painting teacher — and she guides studies in iconographic drawing and painting according to the Aro Dri-ku (A ro bris sKu / ཨ་རོ་བྲིས་སྐུ་) style which was inspired by the teachings of ‘Khordong gTérchen Tulku Chhi’mèd Rig’dzin Rinpoche.
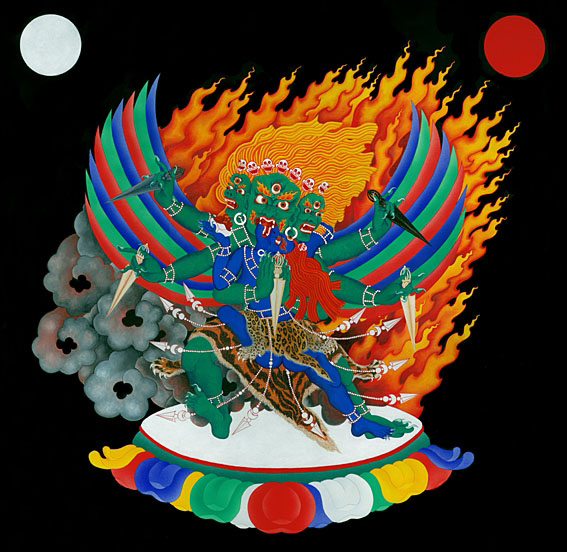
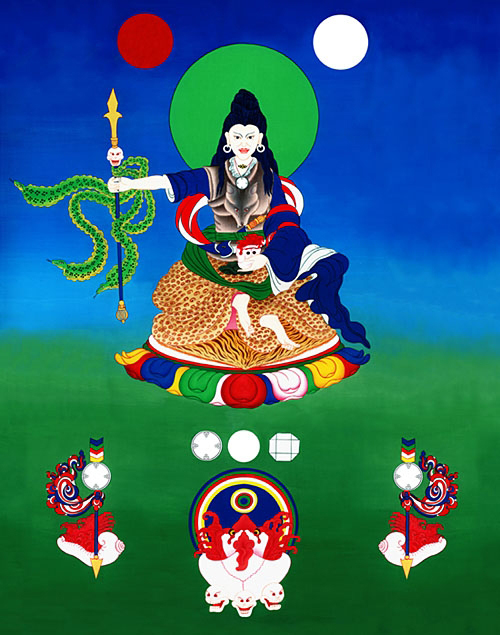
The Aro Driku (A ro bris sKu / ཨ་རོ་བྲིས་སྐུ་) style is both more traditional than other styles and contemporary. It is traditional in returning to the brighter outer colours of the ancient thangkas — and contemporary in conforming more to human anatomy. An extremely careful balance is maintained between traditional form and the requirements of anatomy. The faces, hangs, feet, and robes are all very similar to the traditional style — but other aspects of the body are more exactly human. This style is increasingly emulated by Himalayan artists — particularly in terms of the statues of Lamas.
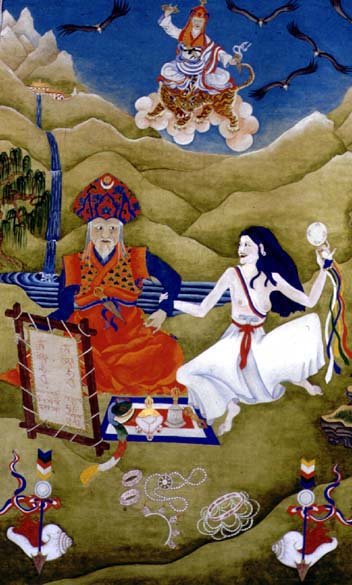
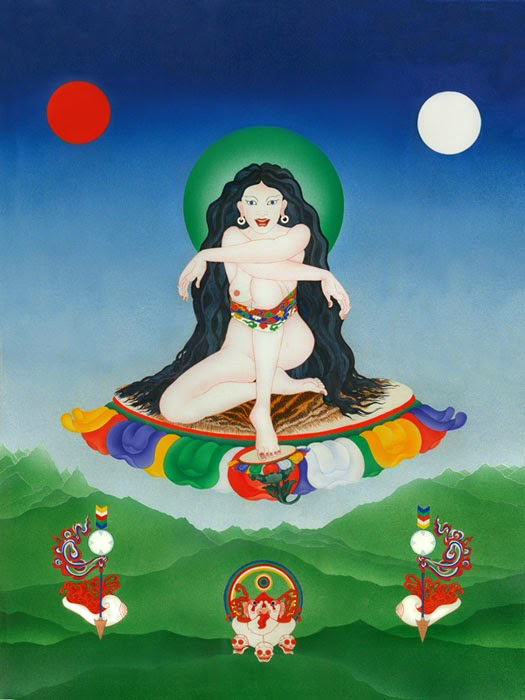
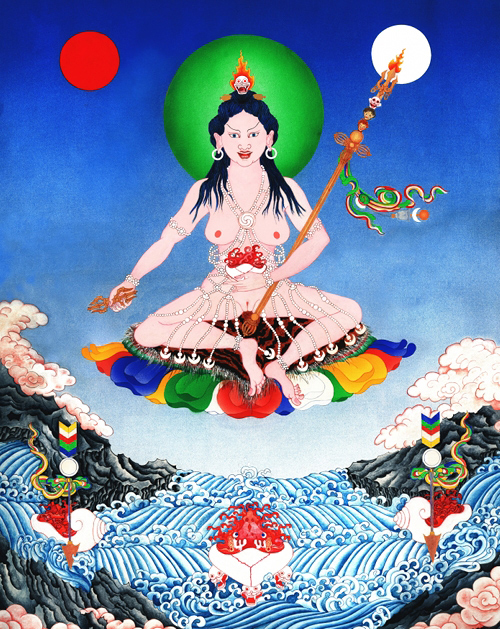
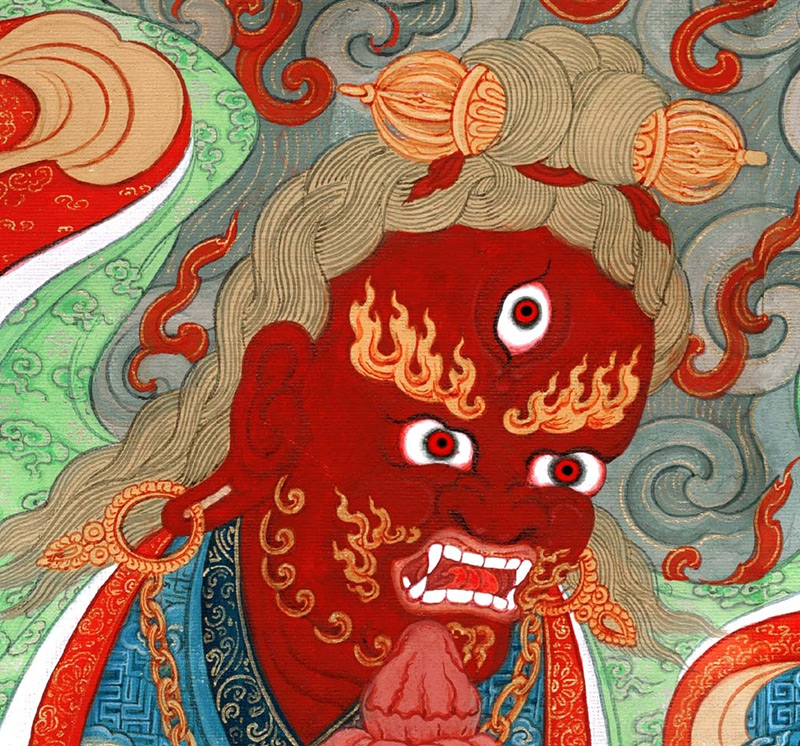
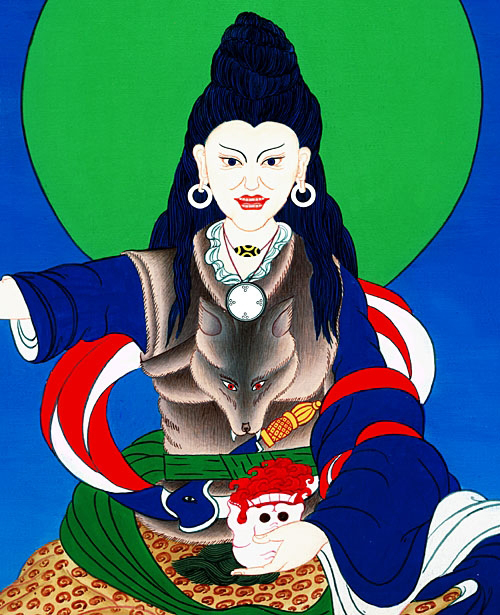
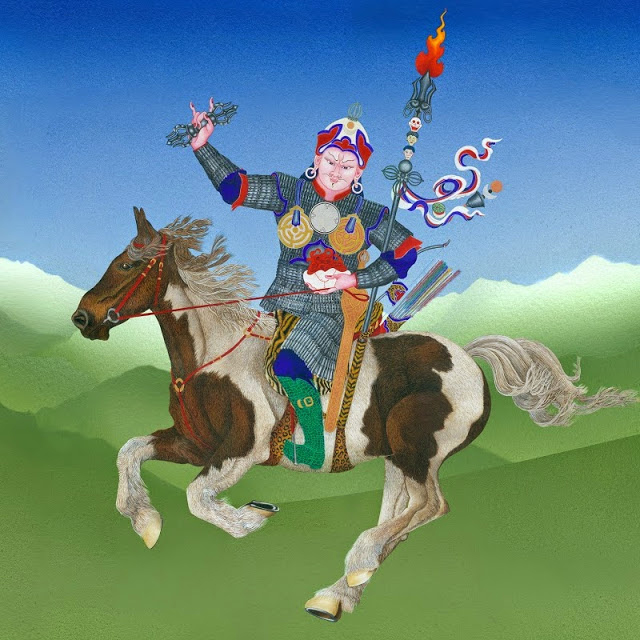
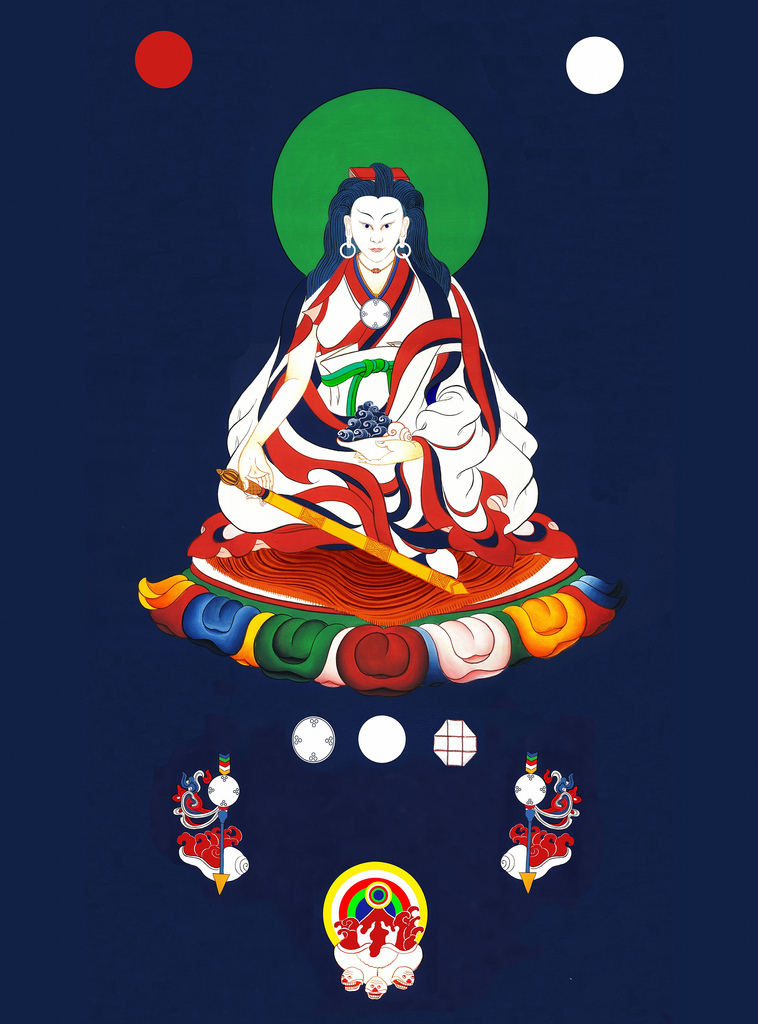
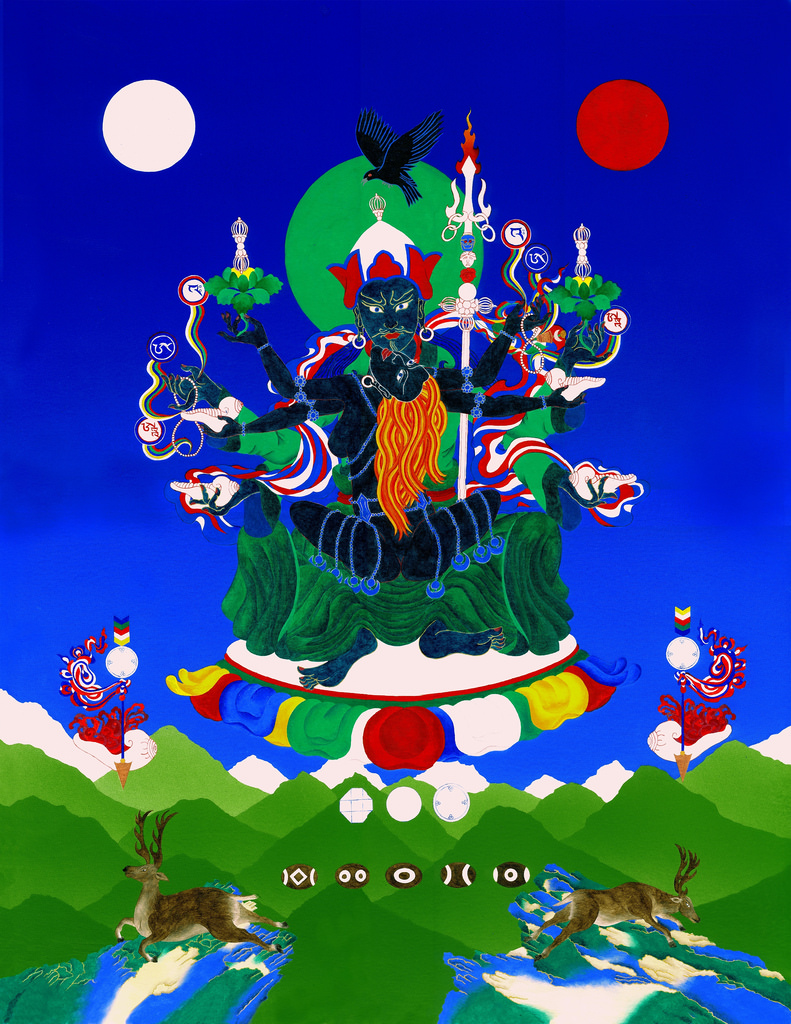
This Aro history thangka depicts the meeting of Aro Lingma (as Khandro Yeshé Réma) with ’a-Shul Pema Legden. ’a-Shul Pema Legden is shown in the thangka as Khalden Lingpa’s thangka painter – although this does not represent the manner of their meeting. Khalden Lingpa is displayed in the sky above Khandro Yeshé Réma and ’a-Shul Pema Legden, because it was he who was active in precipitating their meeting.
If you would like to order prints of painted or appliqué thangkas, please contact thangka-painters@arobudhhism.org

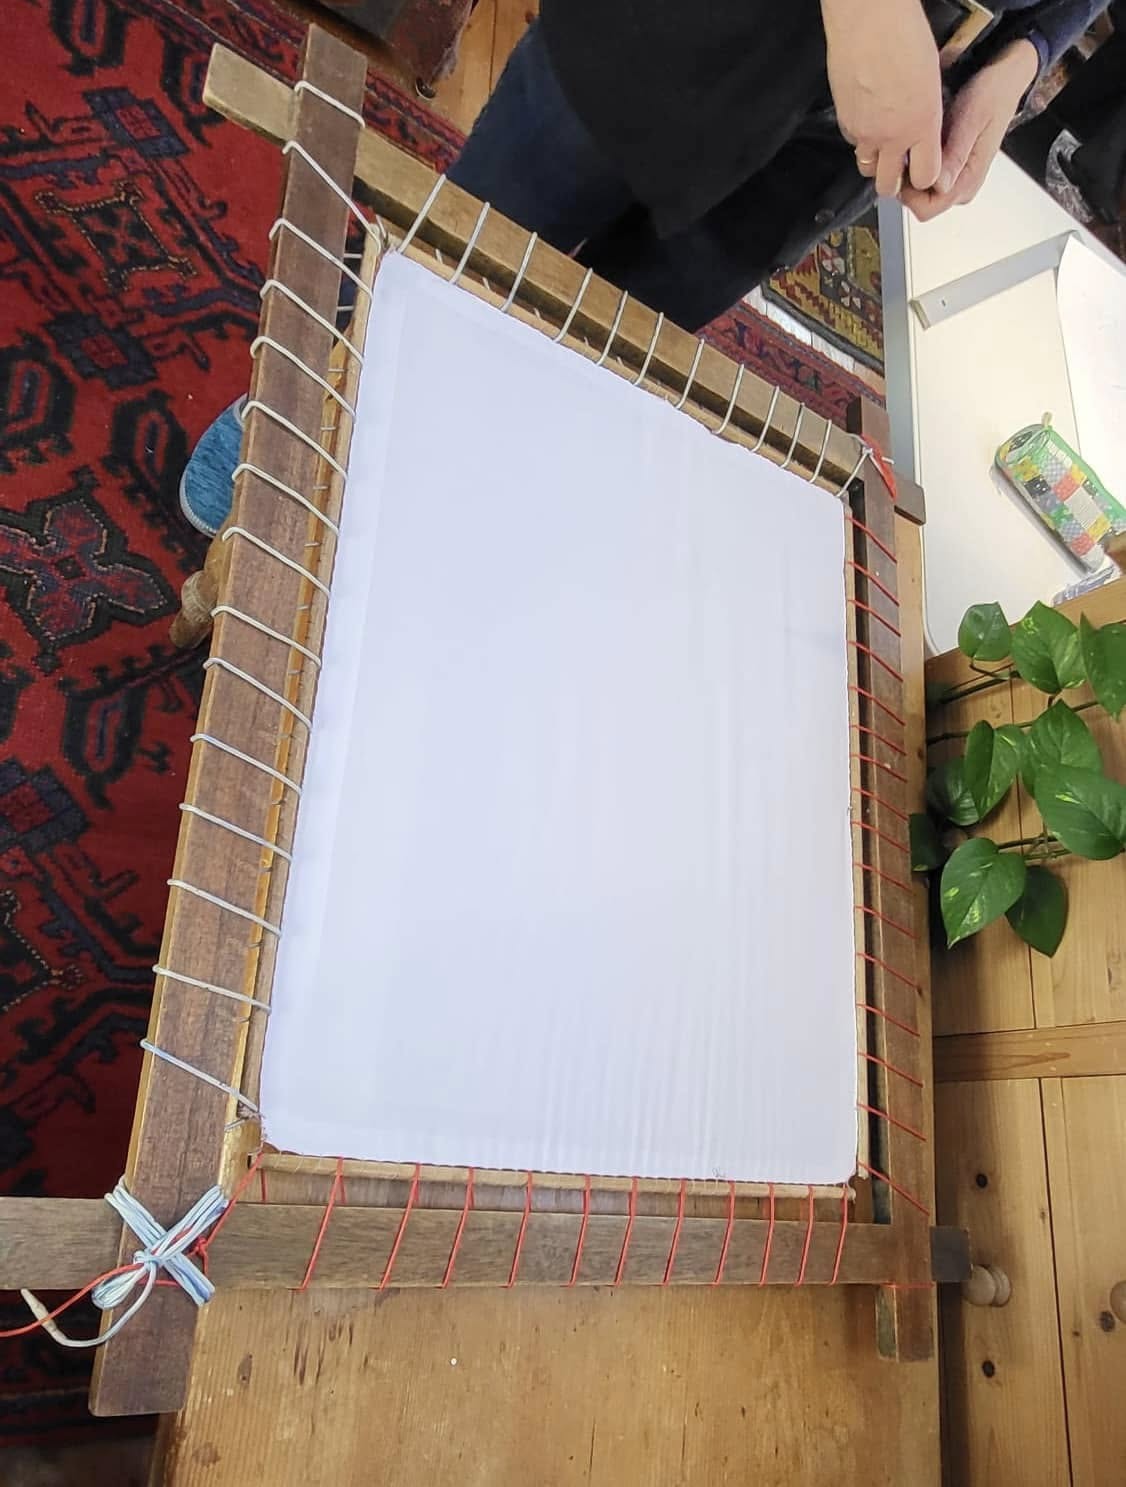
Setting up the thangka frame
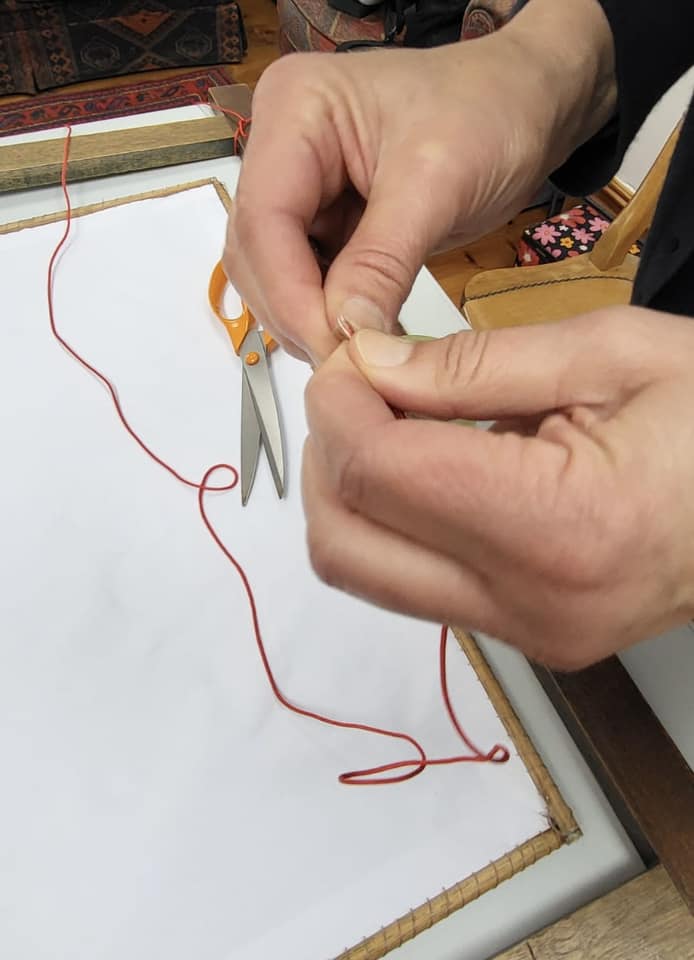
Stage 1) The white cotton poplin fabric has to be sew with the 1/4 inch dowels. Around ½ an inch between the stitches. The stitches need to be loose in order that the stretching cord can pass around the dowel and the poplin when it comes to stretching.
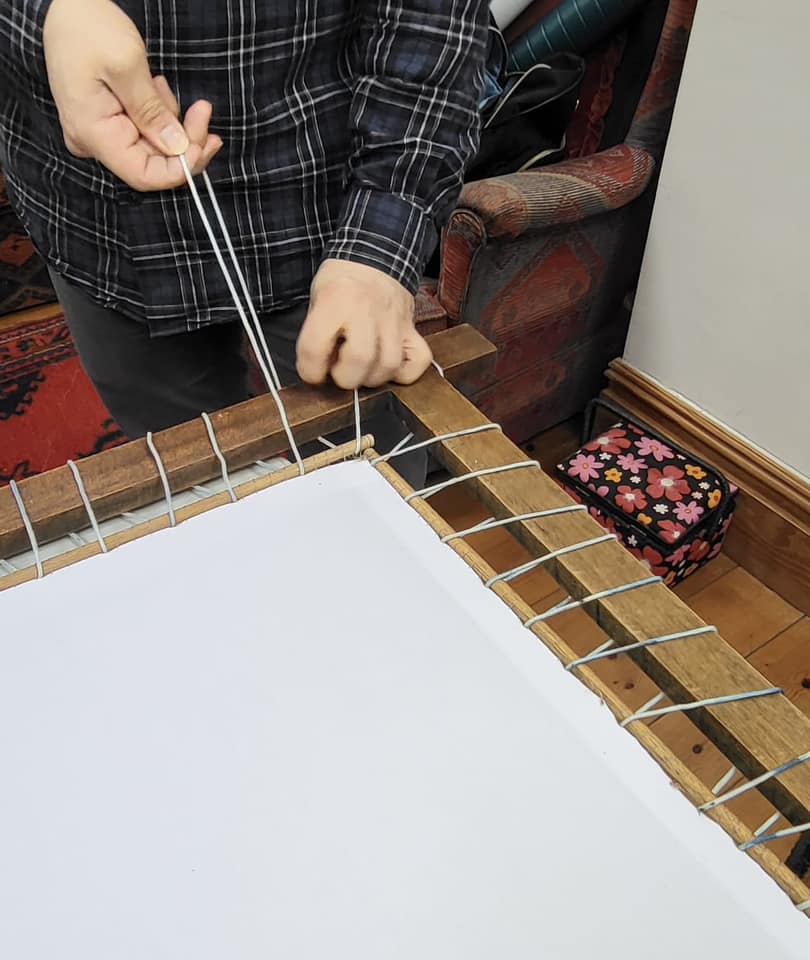
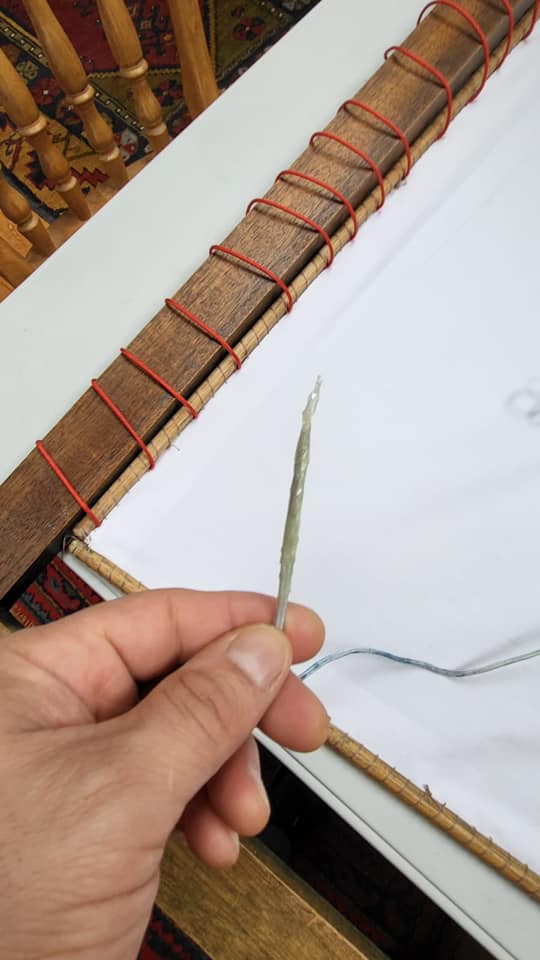
Stage 2) The cord has to pass around the dowels and the cotton poplin and zig-zagged around frame in order to stretch the cotton poplin.
Stage 3) Make a knot in one corner of the frame so the cord can be tightened.
Stage 4) continue pass the cord around the frame and between the cotton poplin fabric and dowels all the way round until you reach the next corner. You can use one thread all around the frame but it's recommended to use two — as it is easier to stretch the cotton poplin fabric in different areas to avoid wrinkles. If you use two cords, make sure they always end in the corners and make a knot.
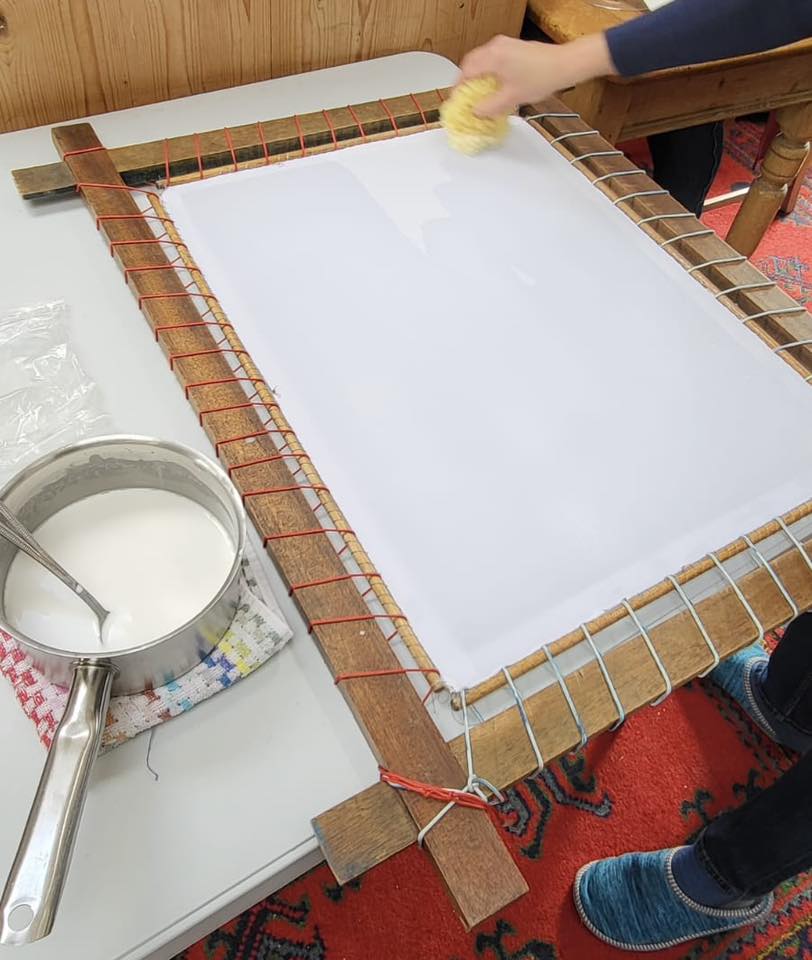
Stage 5) stretch the cotton poplin fabric evenly little by little until the fabric is completely evenly tight.
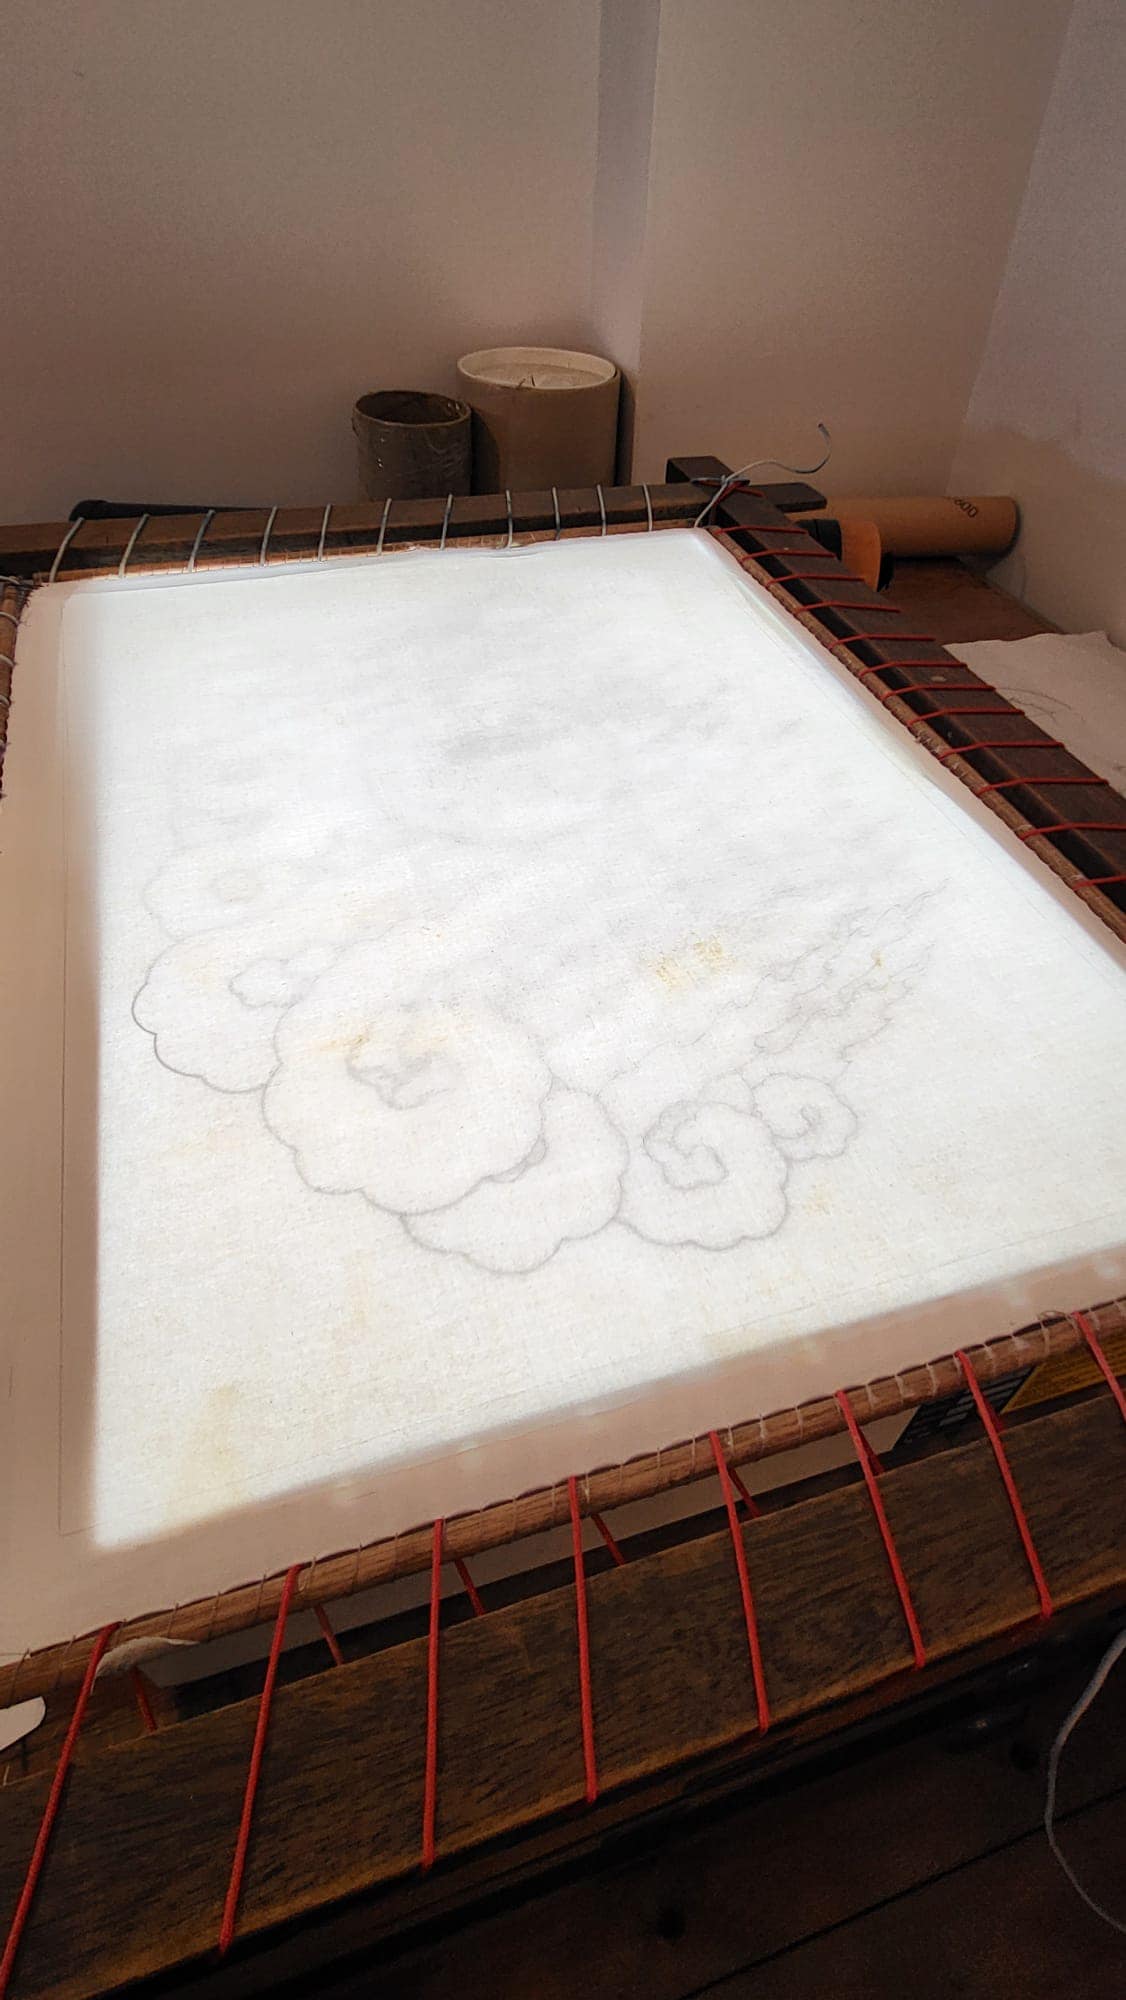
Stage 6) warm the gesso with gelatine and apply this to the cotton poplin fabric evenly and let it dry.
450 ml or 15 oz of water
3 big heaped tablespoons of Gesso powder. 1 bag (11,7 g / 0.02579 lb ) of gelatine. Warm up and apply on the cotton poplin fabric.
Stage 7) Once the gesso has dried properly, polish the surface of the cotton poplin fabric with a piece of conch or glass (it could be a piece of wine bottle with the broken edges ground smooth). Polish the cotton poplin fabric in all directions both in cross and diagonal. Beginning in one direction and once it is done continue with the next until all four directions are completed. Repeat this stage 3 times until the cotton poplin fabric becomes even and smooth. It is important to have a piece of hardwood under the cotton poplin in order that fabric can be smoothed effectively.
Stage 9) trace the yidam on the cotton poplin and with the aid of a light box trace all lines carefully in the canvas with a 6H pencil.